How to install the UFW GUI
What you’ll need: To make this process work, you’ll need a running instance of Ubuntu — or any Ubuntu-based distribution — and a user with sudo privileges.
1. Open the terminal window app
To install the UFW GUI, open the terminal app on your desktop, which can be done from the desktop menu.
2. Run the installation command
Next, we’ll install the GUI with the command:sudo apt-get install gufw -y
The above command will pick up any necessary dependencies for the GUI and install everything without any issues.
3. Open gufw
Once the app is installed, you should find a new entry in your desktop menu labeled Firewall Configuration.
Click that icon to launch the tool. You’ll be prompted for your sudo password before the app can open.
Using the GUI
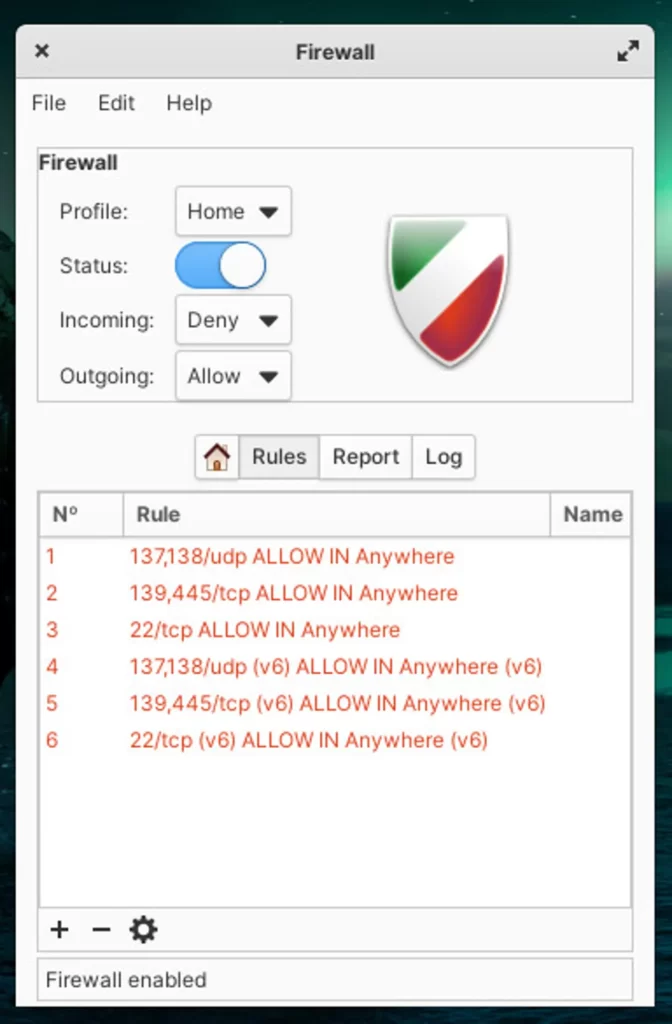
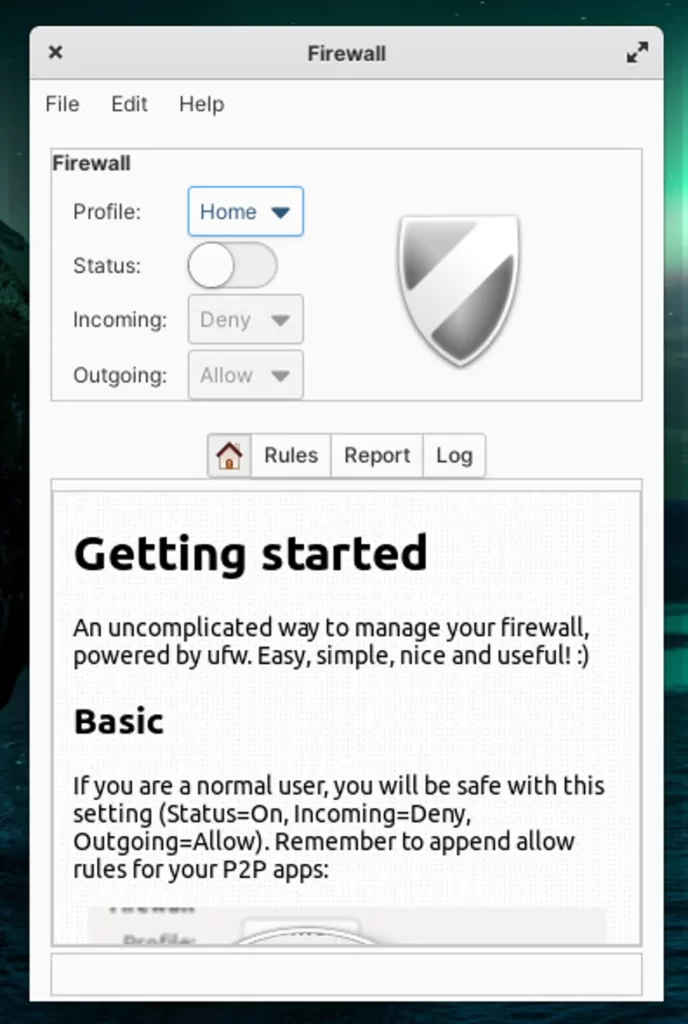
1. Enabling the firewall
The first thing you’ll want to do is enable UFW. On the GUI’s only window, you’ll find an On/Off slider marked Status. Because UFW defaults to inactive, you’ll need to click the On/Off slider until it’s in the On position.
Once you’ve done that, the firewall is active and protecting your desktop.
2. Adding a rule
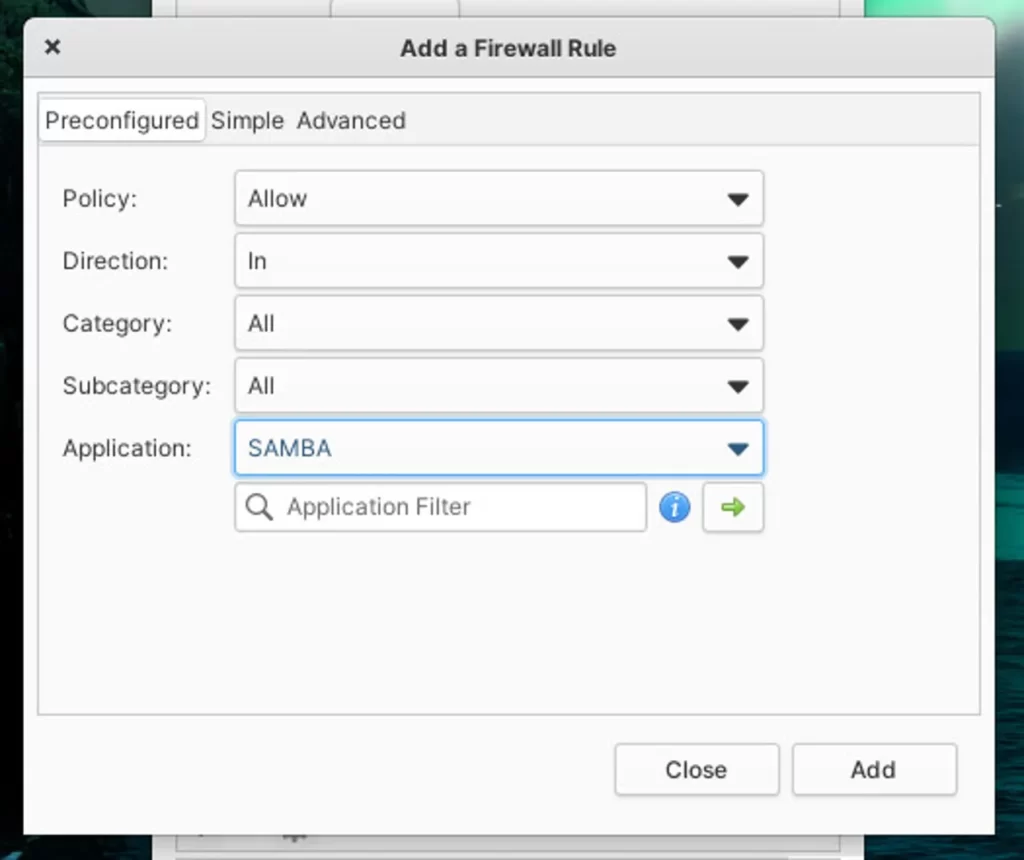
Let’s say you want to allow Samba traffic into your desktop, so you can share folders and files to other devices on your network. To do that, click on the Rules tab and then click + near the bottom left corner of the window.
In the resulting popup, leave everything as is except the Application entry. Click the Application dropdown and select SAMBA. Click Add and then click Close.
You should now see that every port associated with Samba has been added as a firewall rule. Once you’ve allowed Samba through the firewall, those who need to access your shared directories should still be able to do so, while you’ll have the rest of the ports on your machine locked down.